Best Ultralight Backpacking Gear for Beginners: Complete Guide + Tips
Over the last two years one of my biggest focuses as a backpacker has been transitioning my backpacking setup to ultralight gear. While I’ve primarily had to make the switch due to medical issues (a bulging disk in my thoracic spine), I’ve also noticed that dropping back weight has made backpacking more fun and enjoyable! In this guide to ultralight backpacking gear for beginners I’m sharing tips and tricks for how to make the transition to an ultralight backpacking set up. I hope this beginners guide to ultralight backpacking gear helps you cut weight and have more fun on the trail!
Below, I share why you should consider going ultralight for backpacking, and why I made the transition. I then share about the big three (aka the fastest way for most people to cut weight!), as well as links to the best ultralight gear for beginners.

Welcome!
We’re Gwyn and Ami. Based in Spokane, Washington, we’re your guides to the Pacific Northwest and beyond!
We’re adventure travel experts, and our blog is all about helping you find the best hikes, weekend getaways, and national park adventures in the United States and abroad. You can find more on Instagram @gwynandami.
We’ve included affiliate links to the exact ultralight gear we use and recommend. Every item has been tested by us on real adventures and backpacking trips! Unless explicitly noted, we don’t recommend ANY gear we haven’t used ourselves.
Ultralight backpacking gear for beginners: the ultimate guide
Why go ultralight for backpacking?
Ultralight backpacking (often abbreviated as “UL”) is a particular style and philosophy of backpacking. The goal is often to shed as much pack weight as possible, while still being safe and adequately prepared on trail. Ultralight backpackers often aim for increased comfort, efficiency, speed, and freedom on backpacking trips.
There is no single accepted definition of what counts as “ultralight.” However, many ultralight backpackers aim for a base weight (more on that soon!) of 10-15 pounds.
My ultralight journey: why I transitioned to ultralight backpacking gear
For me, the transition to ultralight backpacking gear started a few years ago due to medical necessity. At the time, I was diagnosed with a painful bulging disc in my thoracic spine, and I knew I needed to get my pack weight down if I wanted to keep backpacking. I’m also in my mid-30’s, and I’m not getting any younger. I wanted a more nimble backpacking setup that would help me reduce pain and be more nimble on the trail.
Cutting my pack weight didn’t happen overnight. I was able to build a mostly ultralight backpacking setup over about a two year period. I’m lucky enough to work in the outdoor industry, and that privilege definitely helped me make the transition! Over the last two years I’ve been able to refine my setup after trying out a variety of cook systems, tents, and so on.
Understanding ultralight backpacking gear: base weight vs pack weight
There are a few key considerations when taking into account the weight of your gear. Below I define terms you might see when looking into ultralight backpacking: base weight, and pack weight.
- Base weight: Your backpacking base weight is the weight of your pack before you add “consumables,” aka fuel, food, and water. In other words, your base weight includes things like your tent, clothing, and camp stove.
- Pack weight: Your pack weight is your ‘all in’ weight once your backpacking backpack is fully backed and ready to go. This includes all of your base weight items, as well as your food, fuel, and water.
The goal of this guide to ultralight backpacking gear for beginners is to help you drop the base weight for your backpacking trips!
Is ultralight backpacking expensive? (and how to save money)
You might think the solution to ultralight backpacking is just spending a ton of money. Not so!
Getting your pack weight down isn’t as simple as just swapping out heavier gear items… while that’s a big part of the equation, another important step is assessing your gear to determine what you actually need. I’m not one to advocate for being uncomfortable just to shed a pound or two. However, at the same time, I think it’s wise to consider whether or not ‘extra’ items like camp shoes and chairs serve your needs enough to justify the added weight.
The standard rule of thumb for backpacking is that you shouldn’t carry more than 20% of your weight. Prior to my ultralight journey my pack for just 1-2 nights trips was often close to 30 pounds– and sometimes more! Based on my weight, my target pack weight is around 22–25 pounds (or less). Ideally, I’d like my pack weight to be around 17-20 pounds!
If you’re looking to cut backpacking weight without spending a fortune, one of the biggest “bang for your buck” areas to focus on is the “big three.” Below I describe the backpacking big three, and how swapping those items will put you well on your way to an ultralight setup! I also share my current ultralight backpacking gear recommendations based on years of testing. Additionally, if you want to save money I suggest shopping sales, and selling your old gear (Facebook Marketplace is great for this!) after replacing it. Finally, look beyond the big brands to smaller companies. Garage Grown Gear offers some great cottage brands, and the REI Co-op house brand now offers some real ultralight gems at good prices.
Essential ultralight backpacking gear for beginnings (the Big Three)
Have you heard of the backpacking big three? Sometimes called the “big four,” the big three include your backpacking pack, sleeping setup (mostly focused on your sleeping bag and sleeping pad), and your tent. If you’re new to ultralight backpacking, these are the easiest pieces of gear to replace in order to drop pack weight quickly!!
Ultralight backpacking backpacks
Did you know that the majority of backpacking backpacks weigh 3-5+ pounds EMPTY?? That’s a lot! One of the easiest ways to cut your backpacking base weight is to swap out for an ultralight backpack.
When picking an ultralight backpack, there are two key considerations: whether you want a framed or frameless backpacking backpack, and your desired pack size and capacity. I review both below.
Framed vs frameless backpacking backpacks: framed packs have an internal or external frame on them that provides additional stability and support for your gear. Some people find framed backpacking packs more comfortable. However, these frames add weight.
Pack size and capacity: When selecting a backpacking backpack the most important factor is pack size and capacity! larger capacity packs tend to weigh more, but they also fit more. See below for a breakdown of pack size ranges.
- 30-50 liter backpacking packs: this size is generally recommended for weekend trips. However, if you have particularly bulky gear you may need a larger capacity pack even for short 1-2 night trips.
- 50-80+ liters backpacking trips: larger capacity backpacking packs are sometimes recommended for multi-day and longer trips, or seasons where you need more gear to recreate safely. Many ultralight backpackers still manage to bring 40-50 liter backpacks on longer journeys. Most people do not need a backpack that exceeds 80 liters.
I tend to prefer larger capacity packs (50-60 liters) because they are more versatile. I can use a 50 liter pack for both shorter and longer trips, meaning I don’t have to buy multiple backpacking backpacks!
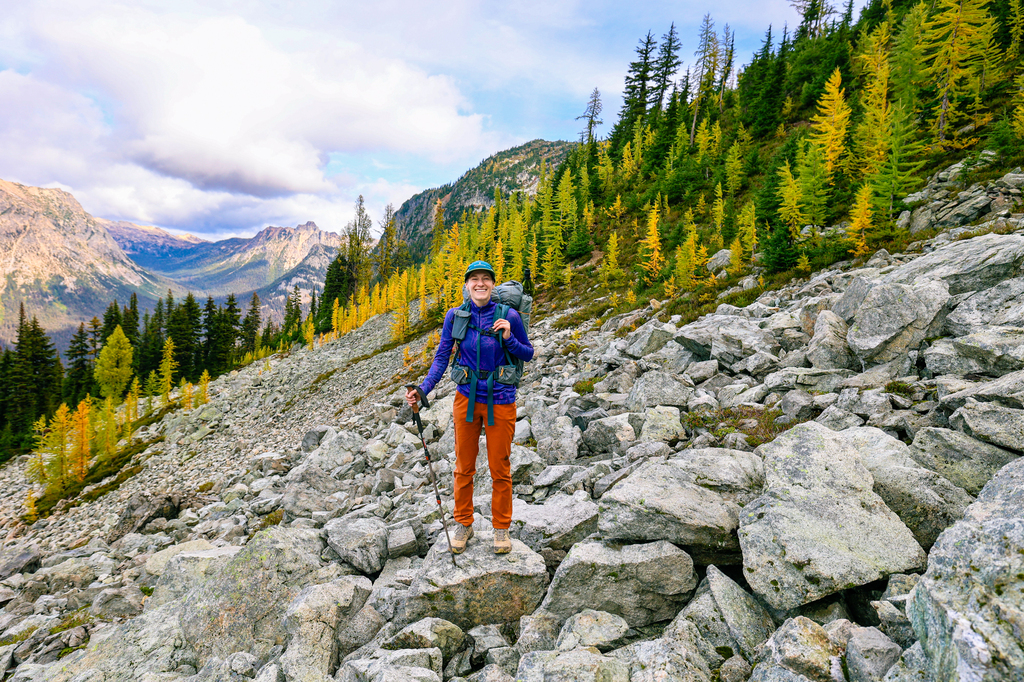
The best ultralight backpack for beginners
In 2025 I transitioned from a 4 pound, 8 oz. 60L REI Traverse backpack to the 1 lb. 12 oz. REI Flash 50L. Talk about a huge weight savings… overnight, I went from a backpacking backpack weight of 72 oz to 28 oz.!!
Cutting the weight of my pack has made a huge difference, and I love my REI Flash 50L. I used the REI Flash 50L on a number of tough backpacking trips this summer, including backpacking wing lake in the North Cascades and backpacking Sahale Glacier Camp. It held up great, and was comfortable once I nailed the pack adjustment.
Some REI Flash 50L features I love:
- Four thoughtful side pockets, including two strategically sloped pockets that provide quick and easy access to water
- An included cellphone holder for your shoulder straps
- A roll top design
- Water repellent finish on the fabric
- Spacious and simple interior – my gear doesn’t get lost in 10,000 pockets
- A super comfortable internal frame
In order to make the transition from a 60 liter pack to a 50 liter pack I did have to upgrade a few other key pieces of gear, including my sleeping pad and sleeping bag. My old versions were simply too bulky for my new, smaller pack!
I’ve also heard great things about Hyperlite packs, but haven’t yet used them myself.
You can read more about picking an appropriate backpacking pack size here.
Ultralight sleep systems
Another way to cut weight is to transition to an ultralight sleep system. Although there are other components (liners, pillows, etc.), the main factors to consider are ultralight sleeping pads and ultralight sleeping bags or backpacking quilts. I cover both below.
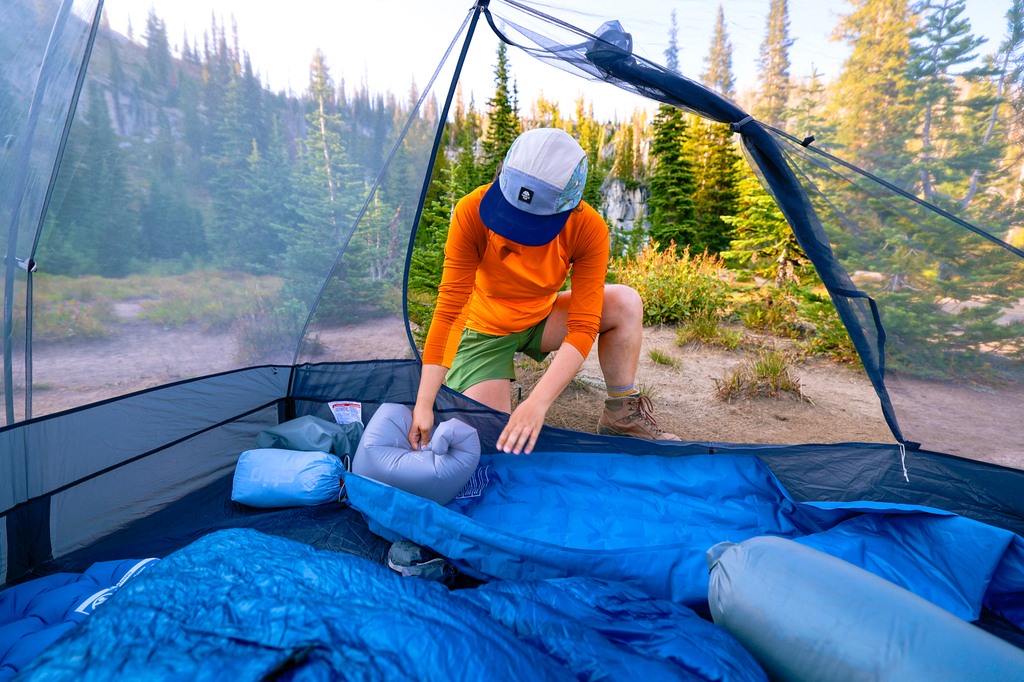
Ultralight sleeping pads
There are a lot of options for sleeping pads, and ultralight options tend to be below 1 pound (16 oz). Important factors to consider when purchasing something are comfort, sound (is it loud when you move?), and R-value, aka how warm it will help keep you.
I prefer higher R-value sleeping pads, which are also heavier. Although they weigh more, they’re also more versatile, since you can use them in both warm and cold conditions. Another factor to consider is a foam sleeping pad vs. a blow up sleeping pad. Foam pads are lighter and can’t pop, but also more bulky and less plush. Blow up pads are heavier but often more comfortable. If you’re looking to save money on ultralight gear, I recommend starting out with a foam pad and upgrading later if you want a blow up pad.
I own a 21 oz REI Helix sleeping pad, which takes just 1-2 minutes to blow up at camp. Although it’s a little heavier than I would like, I sleep cold so the 4.9 R-value is essential for me (especially in the alpine)! It’s also plush, which is great for side sleepers like me. I’ve used my REI Helix in below freezing temperatures and it worked great!
REI has a wide selection of pads available in store to test, and I think it’s worth taking a trip before you buy something so you can ensure the pad you select is comfortable! I’ve been surprised by how loud some pads are when you move around on them.
Ultralight sleeping bags vs. ultralight backpacking quilts
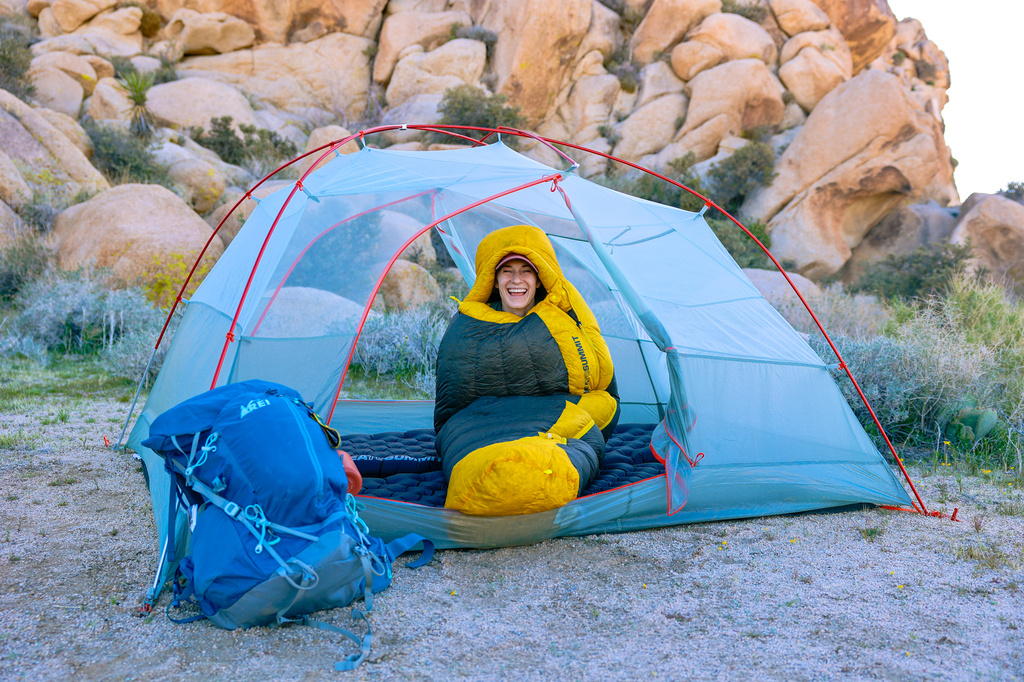
Another area of your sleep system where you can easily cut weight is in your sleeping bag or quilt.
If you’re looking to get into ultralight gear, I highly recommend looking into backpacking quilts! Like me, you might be wondering: What is a backpacking quilt? Quilts strap onto your sleeping pad and don’t fully enclose your body. The logic here is that, when you lay on a traditional sleeping bag you compress the down underneath you, thus reducing its insulating ability. Quilts weigh less and take up less pack space, making them an easy win for building an ultralight backpacking gear kit.
I started using a backpacking quilt in early 2025 and I absolutely love it! I was worried I would be too cold using a quilt, but have found my 20 degree quilt to be more than sufficient (I’ve used it in 32 degree weather and was more than comfortable!). I currently use a Neve Gear backpacking quilt and have been extremely impressed with its warmth and comfort.
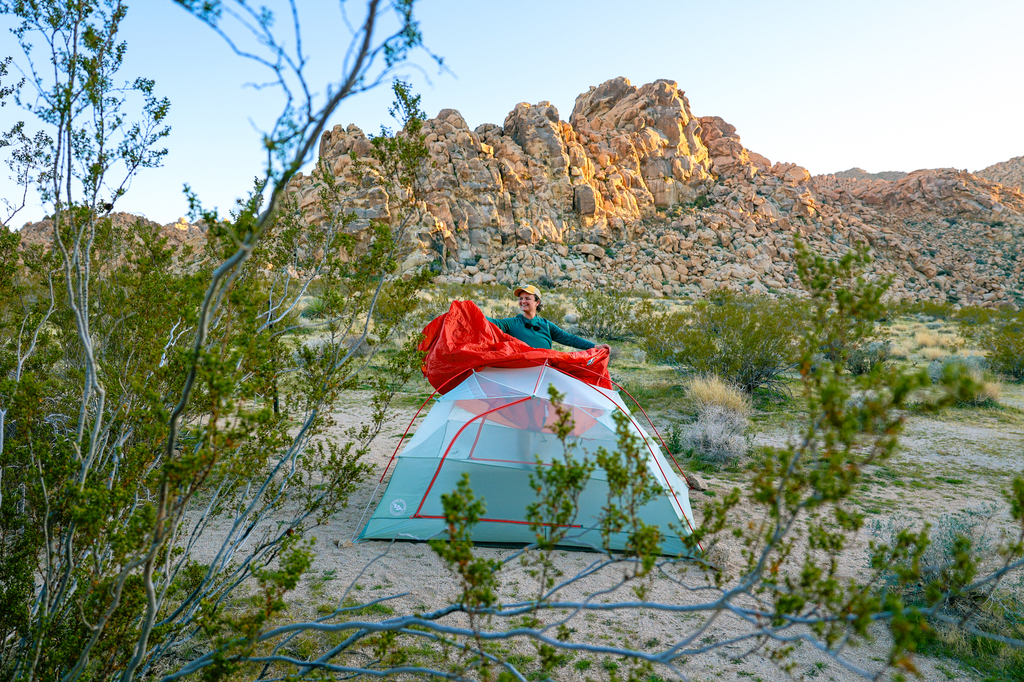
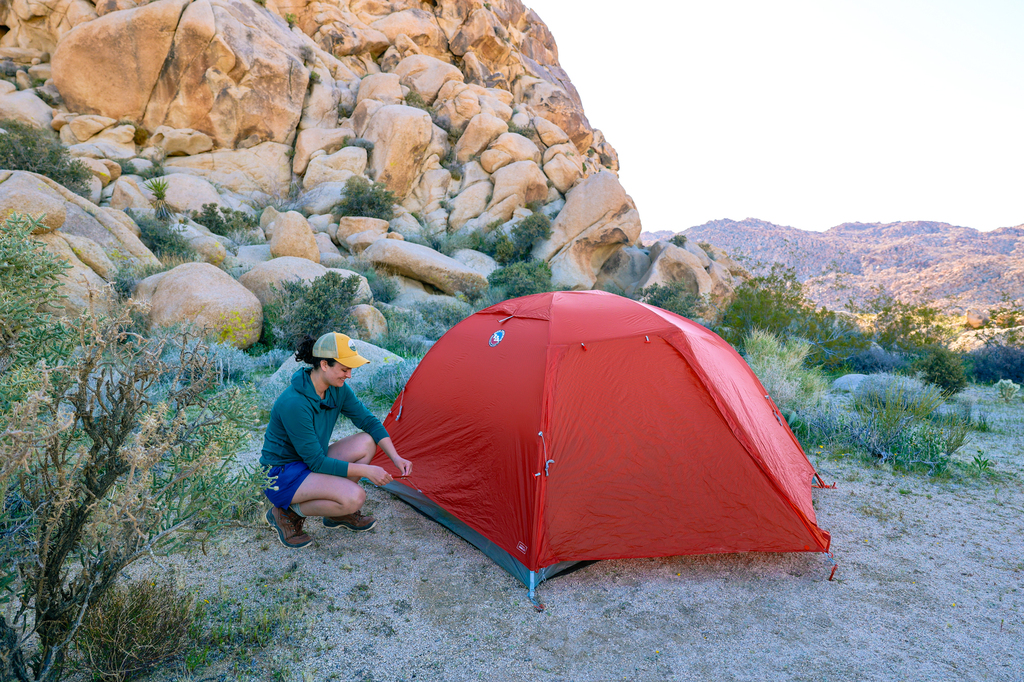
Ultralight backpacking tents and shelters
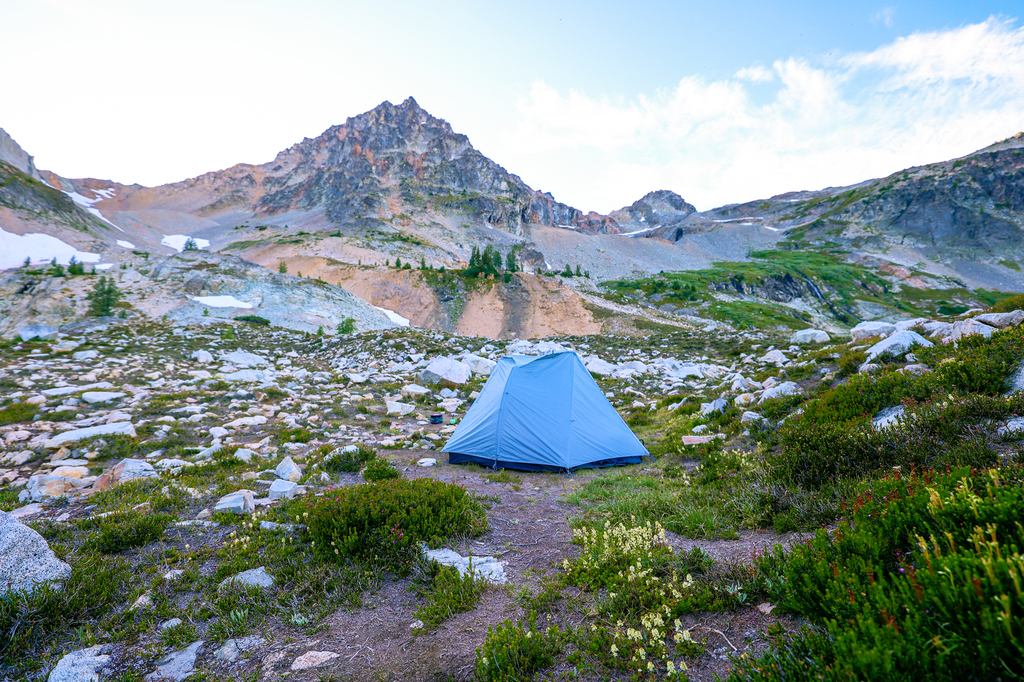
Rounding out the big three are ultralight backpacking tents and shelters! We exclusively use tents for backpacking, so that’s what I cover below.
When looking into ultralight tent options there are a few key features to consider:
- Capacity and interior dimensions: how many people need to fit in your tent? Do you have a pet? Tents are often described as “1P” (aka 1 person), “2P” (aka 2 people), etc. You should also pay attention to interior dimensions if you’re tall.
- Freestanding vs. semi-freestanding: Freestanding tents tend to weigh more, but don’t rely on stakes to support the tent shape and structure. Semi-freestanding tents are lighter weight, but can be harder to set up (especially on rocky surfaces!). In my experience, freestanding tents are more roomy inside.
- Trekking pole tents: These tents use your trekking poles to support the frame, helping you cut more weight!
Below, I share our top ultralight tent picks for different scenarios!
The best ultralight backpacking tents for beginners
Below, we break down the best ultralight backpacking tents for beginners. We split our picks into a few different categories: freestanding, semi-freestanding trekking pole tents, and ultralight solo backpacking tents. We own and use all of the tents listed below!
The best freestanding ultralight backpacking tent
My top pick for the best freestanding ultralight backpacking tent is the Big Agnes Copper Spur. We actually own the three person tent, which we got in anticipation of expanding our family in the future. This tent is spacious, comfortable, and well-constructed. Even the 3 person tent weighs just 3 pounds and 13 oz! It holds up great to wind, and is a solid choice for people who want to avoid semi-freestanding options.
The best semi-freestanding ultralight backpacking tent
My top pick for a semi-freestanding ultralight backpacking tent is the Sea to Summit Alto. We own the 2 person version, and it weighs just 2 lbs. 13.9 oz.. I find it to be comfortable and easy to set up, and holds up well to wind and rain.
However, we have had some condensation issues with this tent in wet and cold weather, so that’s worth considering when shopping for a semi-freestanding ultralight backpacking tent.
The best ultralight trekking pole backpacking tent
The Gossamer Gear “The Two” tent is a fantastic ultralight option for people who are open to using trekking pole tents. At under 2 pounds, it doesn’t get much lighter! This tent is single wall and not at all freestanding, so it’s a bit different from what we’re used to. However, I love the lightweight design and the ease of setting up a tent in rain – because there is no rain fly, the inside of your tent will stay nice and dry no matter what!
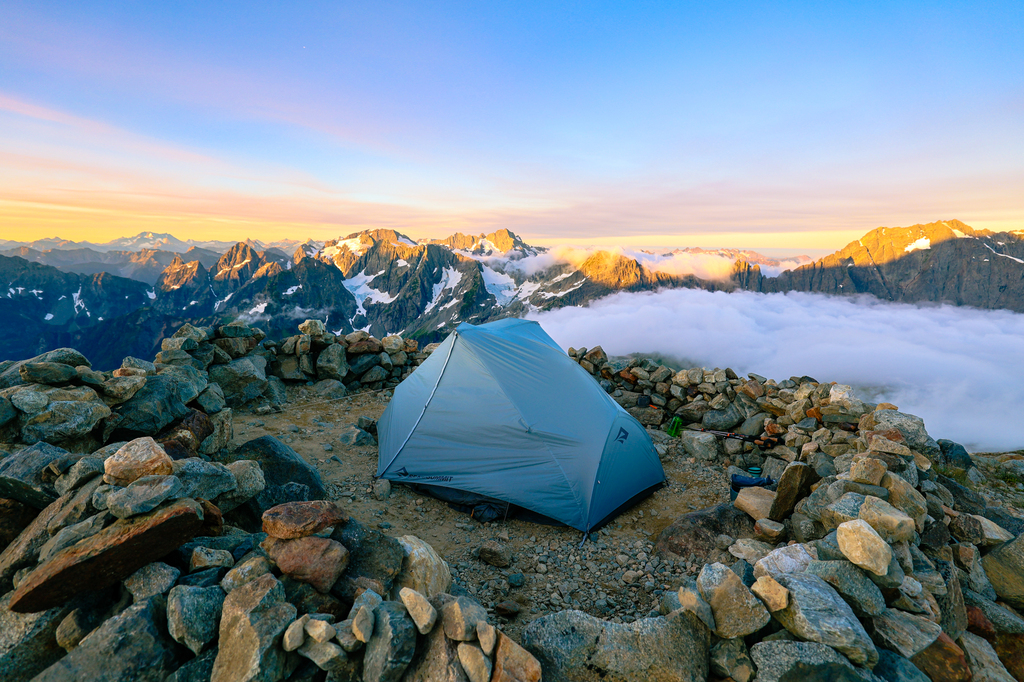
The best ultralight tent for solo backpackers
I currently use the Fly Creek UL1 Tent for solo trips and would recommend it with some reservations, and the caveat that I need to do more testing of this tent. At less than 2 pounds it’s a great option for solo hikers. However, I’m not sure I’m sold on the headroom (it felt cramped to me) and head-entry door. This might have been user error, but the last time I used it was at Sahale Glacier in intense wind and rain. Unfortunately, the bathtub floor of the tent started taking on water, and the tent itself was difficult to sake out at that specific campsite.
Ultralight backpacking gear for beginners: cooking, water filters, and more!
There are a lot more components to an ultralight backpacking setup other than the “big three” discussed above. Once you’ve nailed down your key ultralight gear, it’s time to consider things like your cooking setup, water filter, and so on. See below for a few pieces of gear to consider!
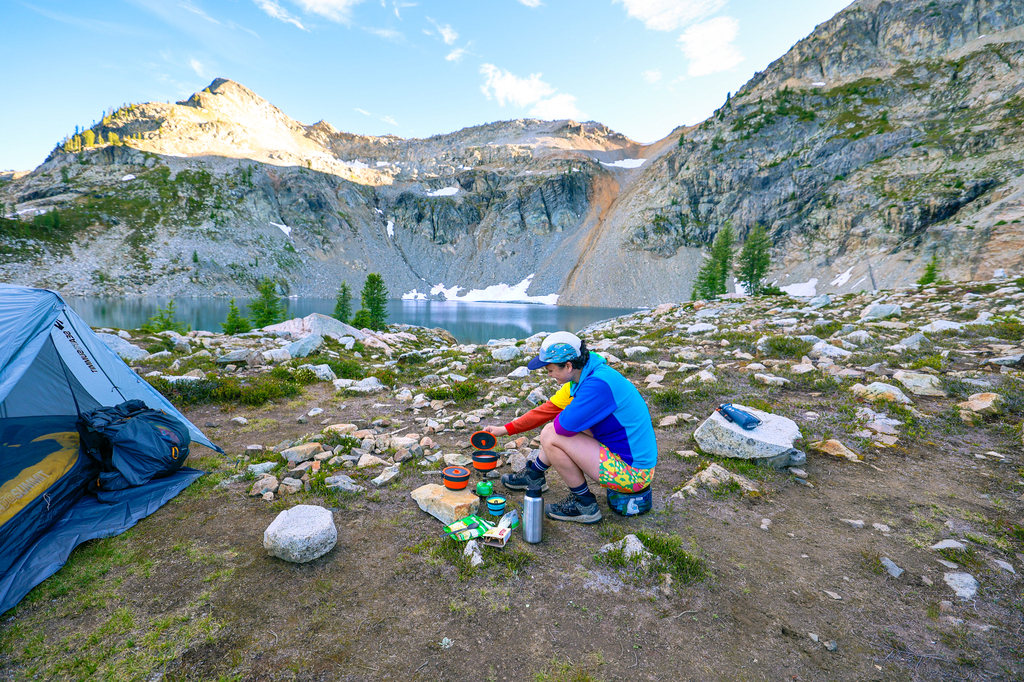
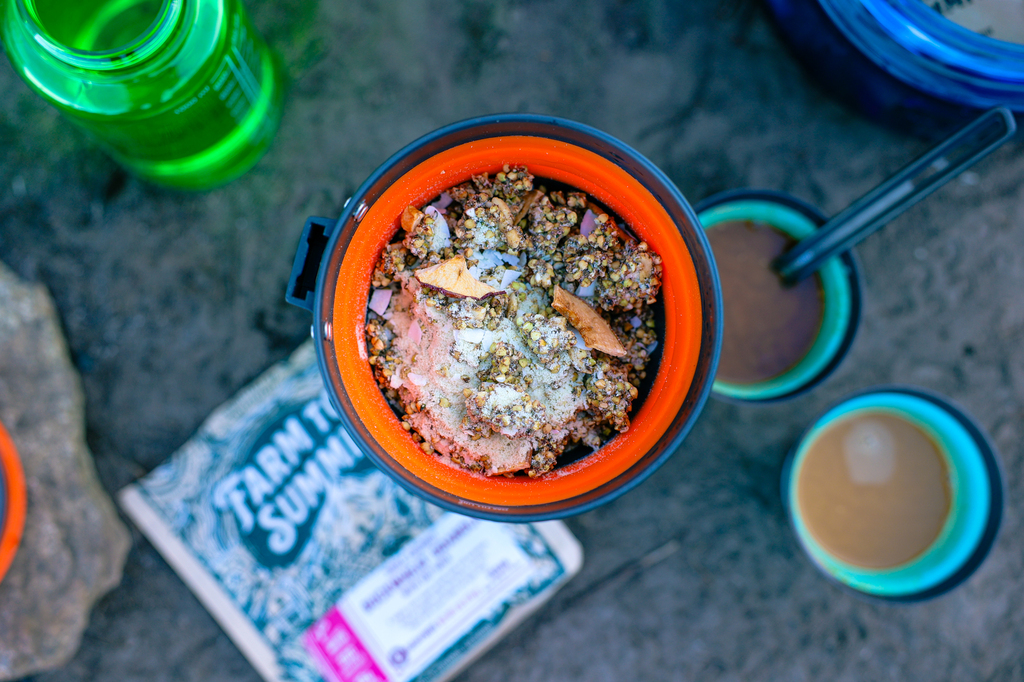
Ultralight cooking in the backcountry
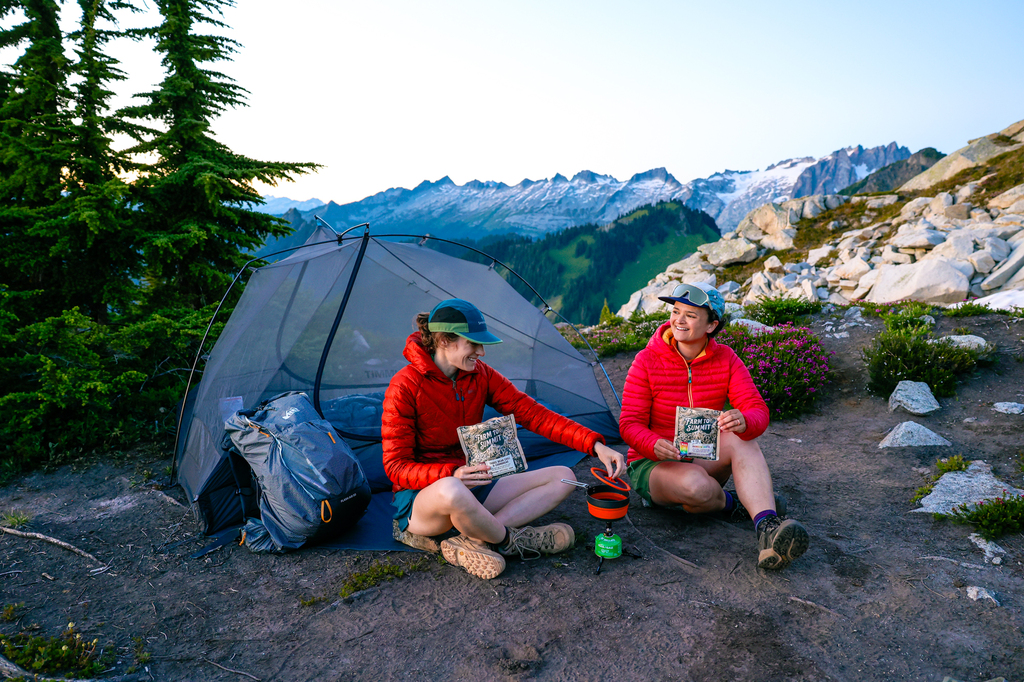
Cooking setups for the backcountry are a great way to cut weight without sacrificing comfort or function. We mainly use a Jetboil stash for cooking, paired with small fuel canisters from a wide range of brands (Optimus, Snow Peak, Jetboil, and so on). We also use ultralight collapsible cups from Sea to Summit, as well as their long ultralight backpacking spoons.
Ultralight water filters and bottles
Our go-to setup for water and filtration is a Katadyn BeFree AC filter and 1L bag, plus a 32 oz Nalgene bottle. There are lighter water bottle options on the market, but I like the durability and ease of cleaning a Nalgene. Having a reasonably lightweight filter is keep to any lightweight backpacking setup.
Ultralight trekking poles
In late 2025 I started using Gossamer Gear LT5 Three Piece Carbon Trekking Poles and I absolutely LOVE them. They weigh about 5 oz, compared with my 18.5 oz REI trekking poles. A big difference! They’re not cheap, but I think they’re worth the splurge (and they make a great gift).
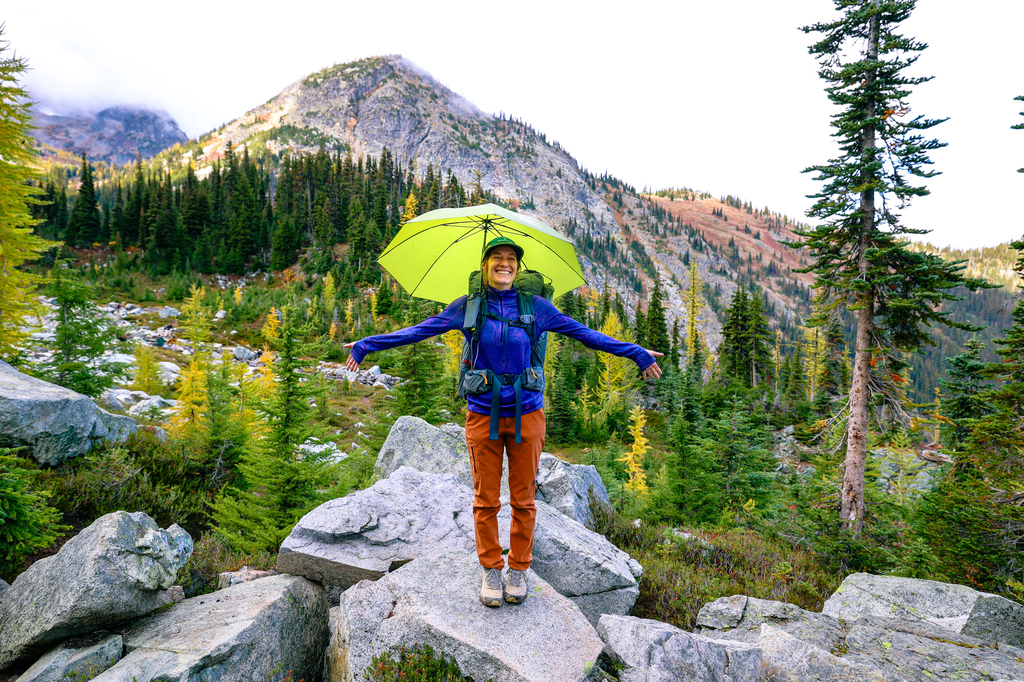
Ultralight backpacking umbrella
I recently added an ultralight backpacking umbrella to my setup, and I can’t recommend it enough. I use the Six Moon Designs Umbrella paired with their hands free straps to attach it to my backpack. It weighs an astonishingly light 6 oz and works well in snow, rain, and light to moderate wind. It helps keep my pack, camera, head, and torso nice and dry when hiking and backpacking, and can mean I’m less reliant on packing heavy rain jackets. In my option, this is one of the most useful and affordable ultralight backpacking gear items on the market.
Tips for Transitioning to Ultralight Backpacking
As you make the transition ultralight gear, below are a few final tips for navigating the process:
- Go slow. Unless you’re made of money (if so, lucky you!), the process of upgrading will likely take time– maybe even years. I recommend building you ultralight backpacking gear setup slowly, and selling old heavier gear at REI or on Facebook Marketplace.
- Don’t sacrifice comfort. If a camp chair, Kindle, or other “non essential” item is what brings you joy in life, bring it! Don’t sacrifice your enjoyment for a bit of weight, and NEVER sacrifice safety to cut pounds!
- Focus on items you use the most first. Not all backpacking gear is only used for backpacking. If you hike a lot, you likely use things like a water filter fairly often. Upgrade those pieces of gear first, since you’ll reap the benefits on day hikes, too.
- Focus on the big three. Your tent, sleeping setup, and backpacking backpack are likely the easiest swaps you can make to cut weight on the trail. Transitioning those pieces of gear can EASILY save you five pounds or more in weight!
Final Thoughts: the joys of Ultralight backpacking
I hope our guide to ultralight backpacking gear for beginners helps you cut trail weight and have more fun on backpacking trips! Transitioning to ultralight backpacking gear is all about enjoying the trail more, not suffering with less. For me, the impetus for transitioning to ultralight backpacking gear had to do with health and age, but seeking more comfort or speed is also a great reason to make the switch.
As you transition your gear, remember to start small, take your time, and upgrade over time. You can find more backpacking gear guides and routes below! Happy trails!


Thanks, but a tarp is more ultralight than a tent, and I think a 60-liter backpack is more of an exception in the UL range. No offense, just my thoughts. I’m missing basics like Tarptents, ultralight groundsheets from xfoil, Therm-a-Rest NeoAir, BRS-3000T, and the like. I’d be happy if you could go into a little more detail.
Great points, and thanks for sharing! I’ve been wanting to try ‘tarp life,’ but living in the PNW we have a lot of a) rain and b) mosquitos and c) campsites in the alpine without much tree cover, so all of those factors have kept me using a tent for now. Maybe something I’ll try out for 2026! As for pack size, I agree that 60 liter is on the high end but it’s what works for me for now! This is definitely a ‘beginners’ guide, and not a comprehensive UL gear guide.